
EXTERNAL ROOF
The external roof consists of 12 triangles made of 3 layers bent plywood and has to be assembled on the ground, because it has to be covered at last with red roofing felt. When that is done, it will be lifted up by a crane on the top of the house, upon the internal roof.
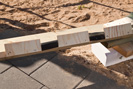
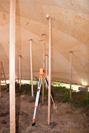
 The carpenter placed some blocks to place a belt made of wood laths.
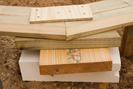
 Here you can see the size of the belt
 The belt from above
 How the corners are constructed
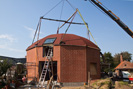
Now the belt is ready for the triangles.
 The triangles are weighing 150 kg. They needed a crane.
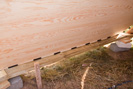
 There are inserted some grid tubes in plastic to hinder birds to penetrate the roof.
 The triangle got fastened on the belt
 The triangle gets levelled and mounted
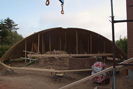 A half roof is ready. Impressing size!
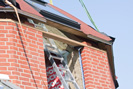
Before the external roof can be covered by roofing felt, the Velux windows have to be inserted. It is easiest to do as long as the roof is down on the ground.
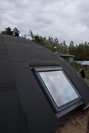 Around the Velux the first layer of roofing felt is laid. The top red layer will be burnt on to it.
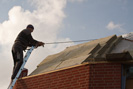
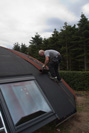 The roofing felt layer is burning the top layer (red) on to the roof.
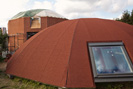 The top layer is on the roof.
The roof is ready to be mounted. But before the internal roof needs insulation. Later on it would be too difficult to insert.
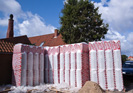 Everywhere on the site you find rockwool balls, because a lot is needed.
 Around the house too!
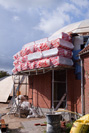
 Anton is laying 4 layers of rockwool as insulation on the top of the internal roof.
 The internal roof looked like this before the external roof got mounted. Nice work had been done!
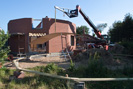
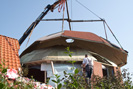
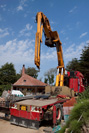 The big day came! We had ordered a crane to lift the external roof.
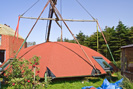 The crane is lifting the roof off the ground
 You can see the inside of the external roof
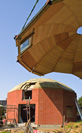
 Anton is curious to see how it fits!
 Yes! Almost in place!
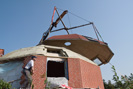
 The angles and corners have to fit each other
 The roof is on!